


What is identity in ASP.NET?
ASP.NET Identity provides a robust and customizable framework for managing user authentication, authorization, and identity-related features in web applications. Some key features of ASP.NET Identity include:
User Authentication:
User Management:
Role-Based Authorization:
Claims-Based Identity:
To start with the ASP.NET Identity model, Create a web app with Model, View, Controller
Go to nutget package manager and install the package named
Microsoft.VisualStudio.Web.CodeGeneration.DesignIt is a code generation tool for ASP.NET Core. Contains the dotnet-aspnet-codegenerator command used for generating controllers and views.
Now add identity to your project
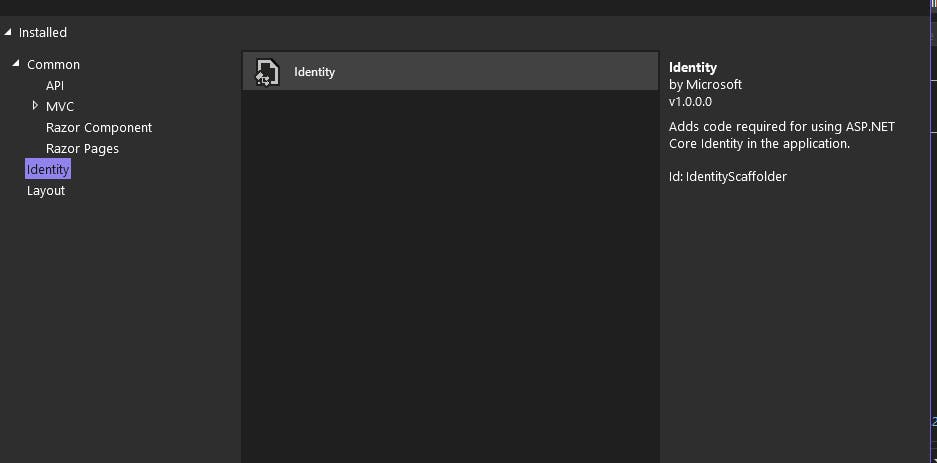
Add a scaffold item as:

Select Identity model and choose the desired scaffolds
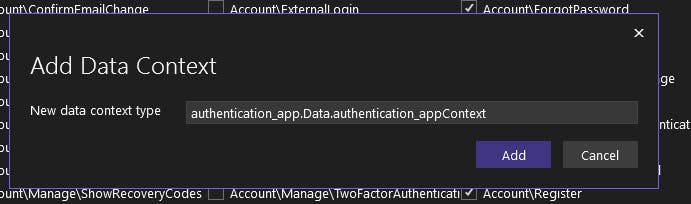
include <partial name="_LoginPartial" /> in the header section of _Layout.cshtml and finally include app.MapRazorPages(); controller in Program.cs

Now run migration commands.
add-migration
update-database
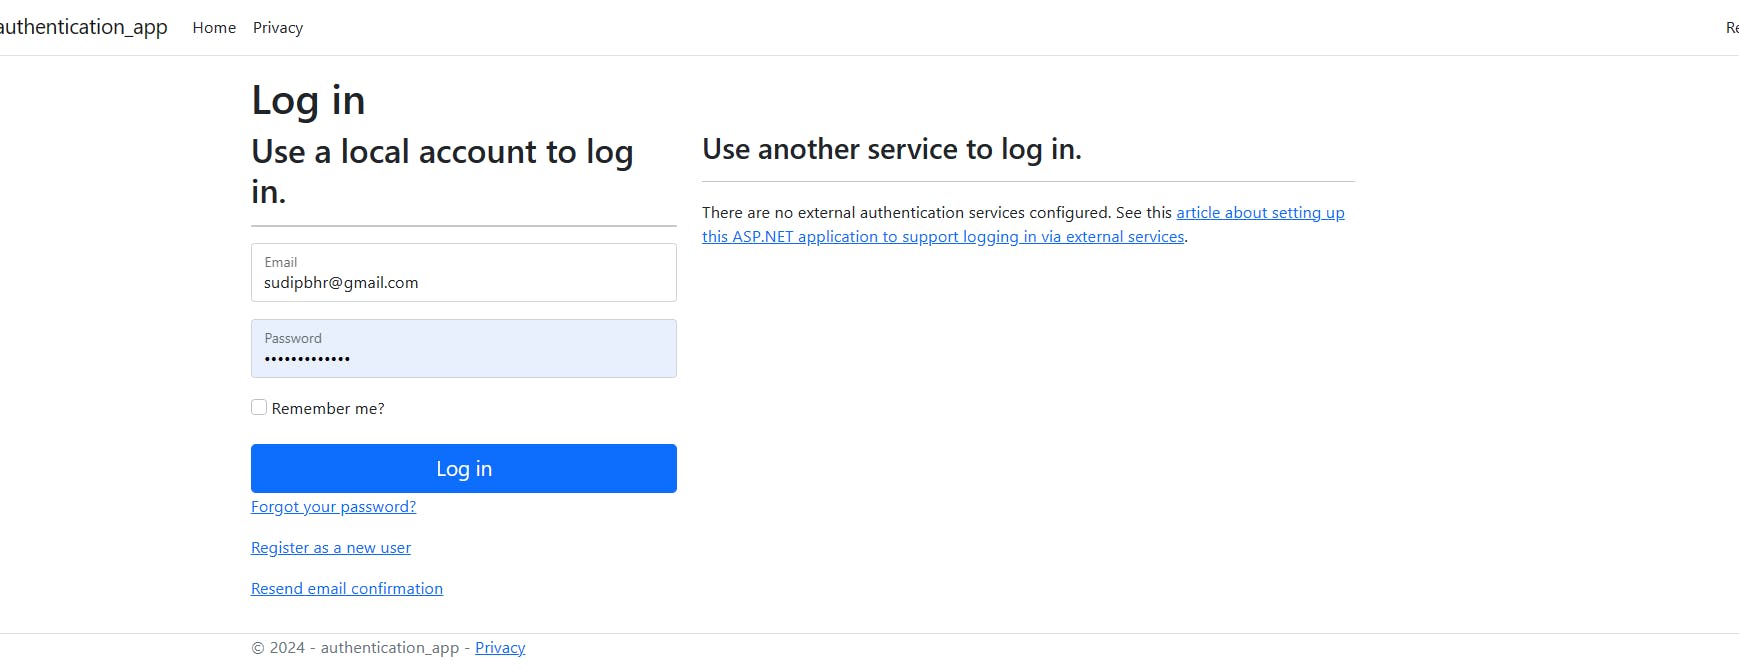
Run the application and try registration and login
- Now expand the user identity model to add other details like first name , last name to registration page.
Creating custom user model
Creating a custom model class file
Create a modal class file for your custom user in Areas/Identity/Data/CustomUser.cs
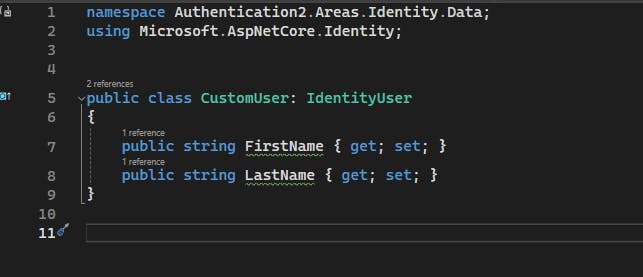
Configure the entity mapping for a custom user entity named
CustomUser. Update dbcontext file as required. The model class defines the method for Custom user model clas.
The custom user model class is ready for migration. Now, reflect the changes on the database by first creating a migration file and the updating database
add-migration: to create a migration file
update-database: to reflect the changes on the database.
Now update the register.cshtml file to include firstname and lastname for registration.
 <div class="form-floating mb-3">
     <input asp-for="Input.FirstName" class="form-control" autocomplete="FirstName" aria-required="true" placeholder="FirstName.com" />
     <label asp-for="Input.FirstName">FirstName</label>
     <span asp-validation-for="Input.FirstName" class="text-danger"></span>
 </div>
 <div class="form-floating mb-3">
     <input asp-for="Input.LastName" class="form-control" autocomplete="LastName" aria-required="true" placeholder="LastName.com" />
     <label asp-for="Input.LastName">LastName</label>
     <span asp-validation-for="Input.LastName" class="text-danger"></span>
 </div>
Register.cshtml.cs must be updated with fields to be added on the Register.cshtml so include first name and last name as:
   public class InputModel
   {

       [Required]
       [Display(Name = "First Name")]
       public string FirstName { get; set; }

       [Required]
       [Display(Name = "Last Name")]
       public string LastName { get; set; }

 ................
Build the application to get new registration page
